There are a gazillion options to consider when shooting - like whether you want to be indoors or outdoors. Outdoor photography is any type of photography taken outdoors. A lot of photographers prefer this type of photography over studio photography (studio photography blog coming soon..). Here is a little bit more about outdoor photography and some pros and cons compared to studio photography.
Types
There are many different types of photos you can take outdoors, such as:
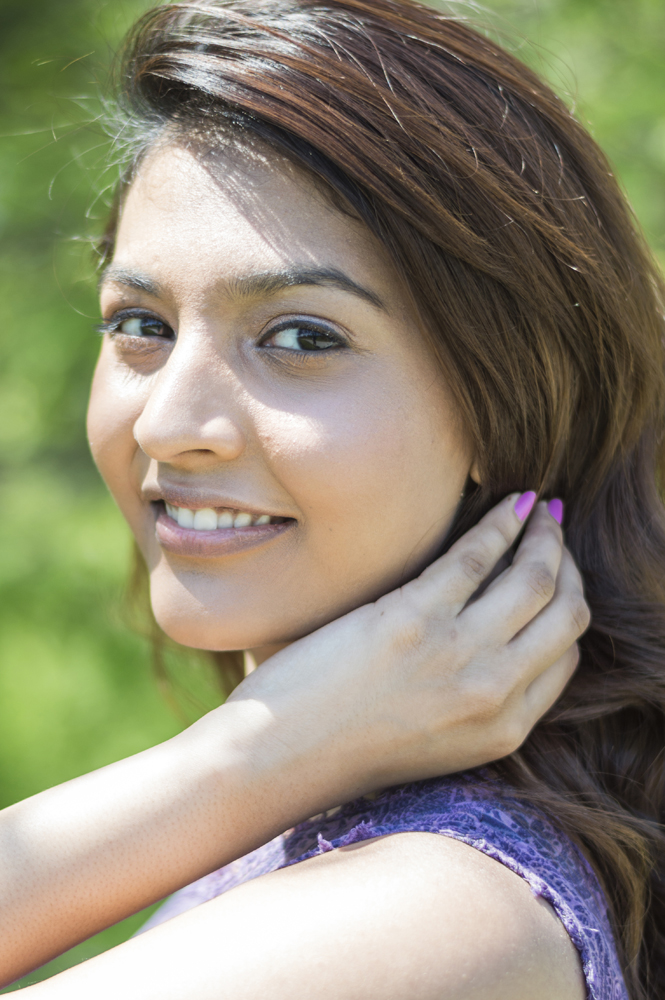
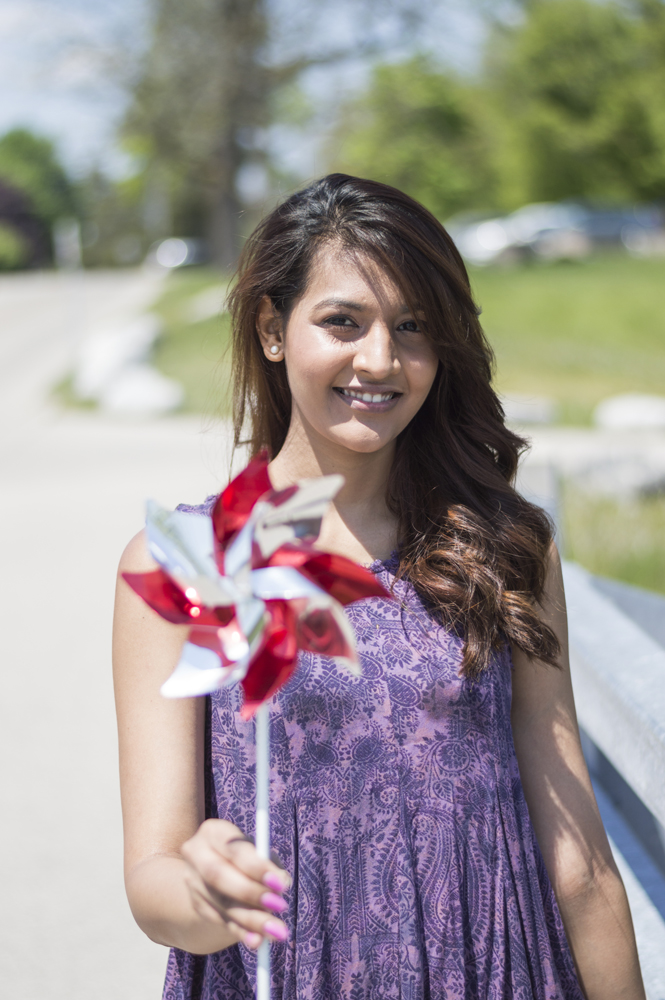
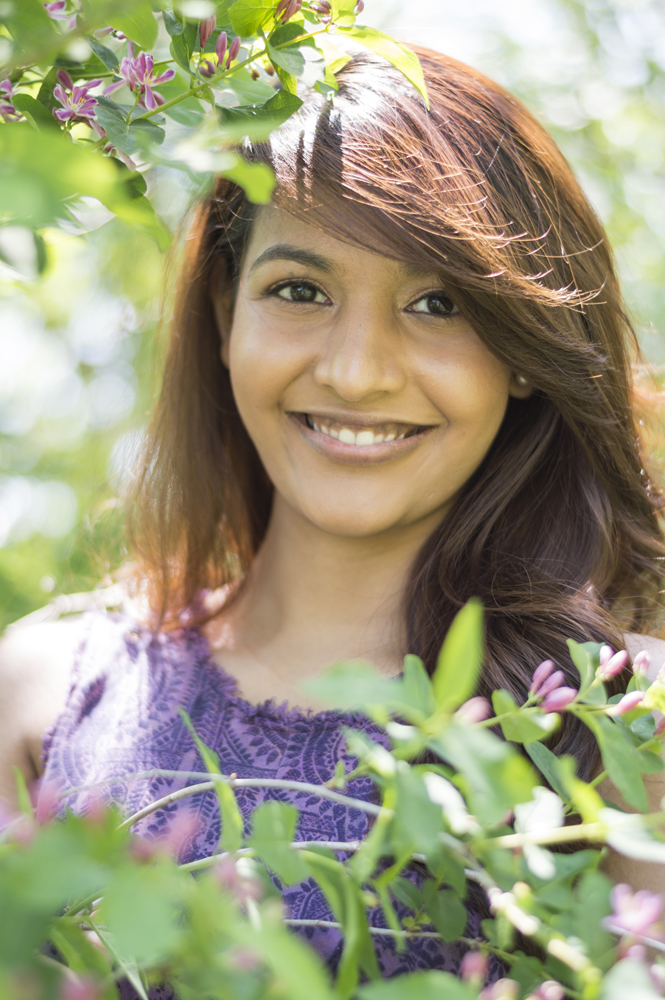
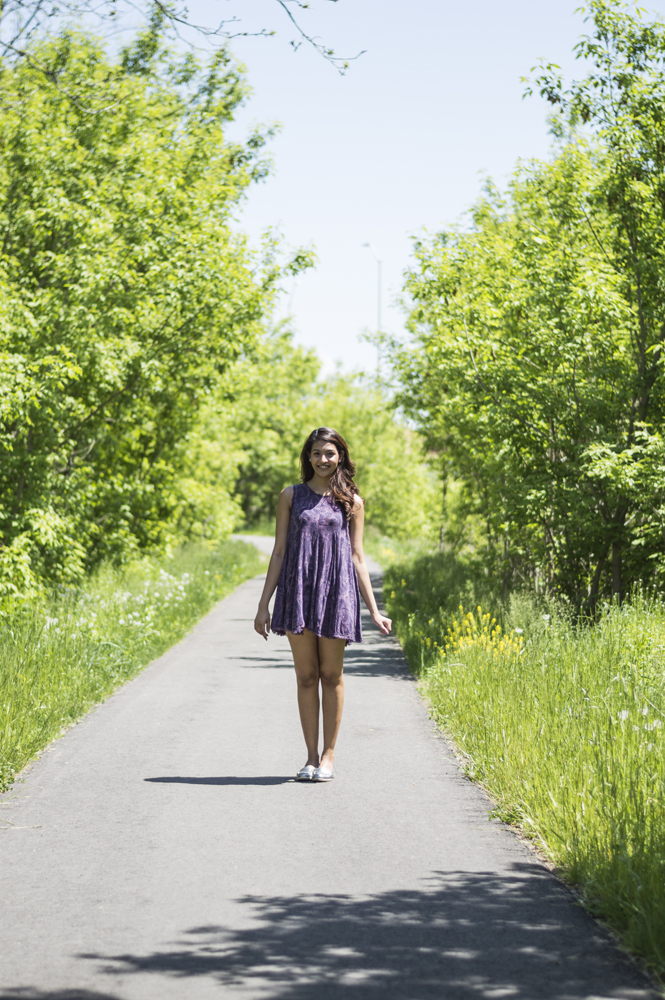
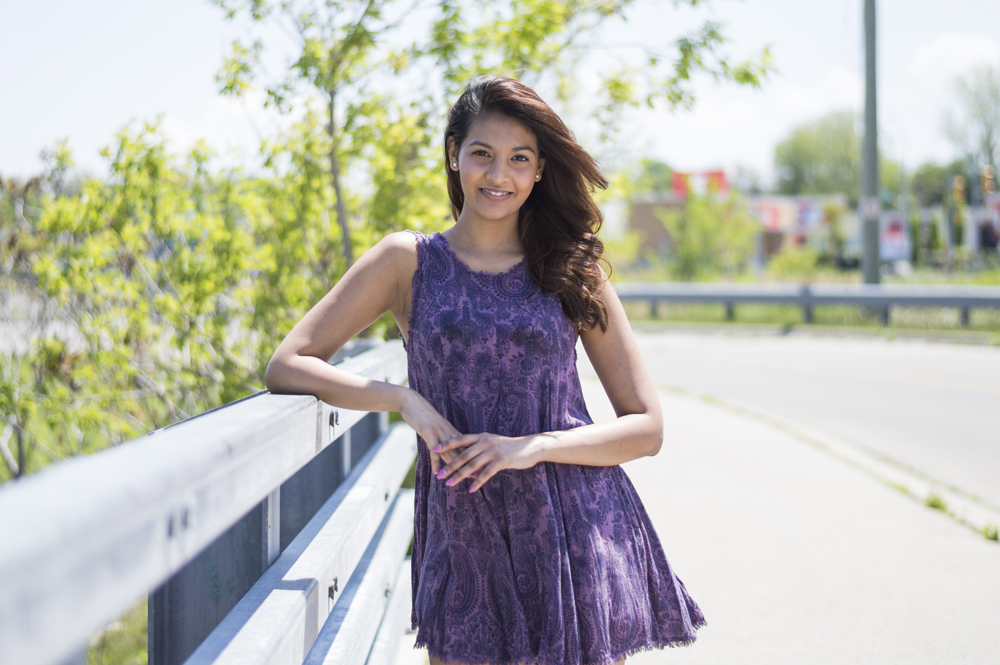
⦁ Portraits
⦁ Landscapes
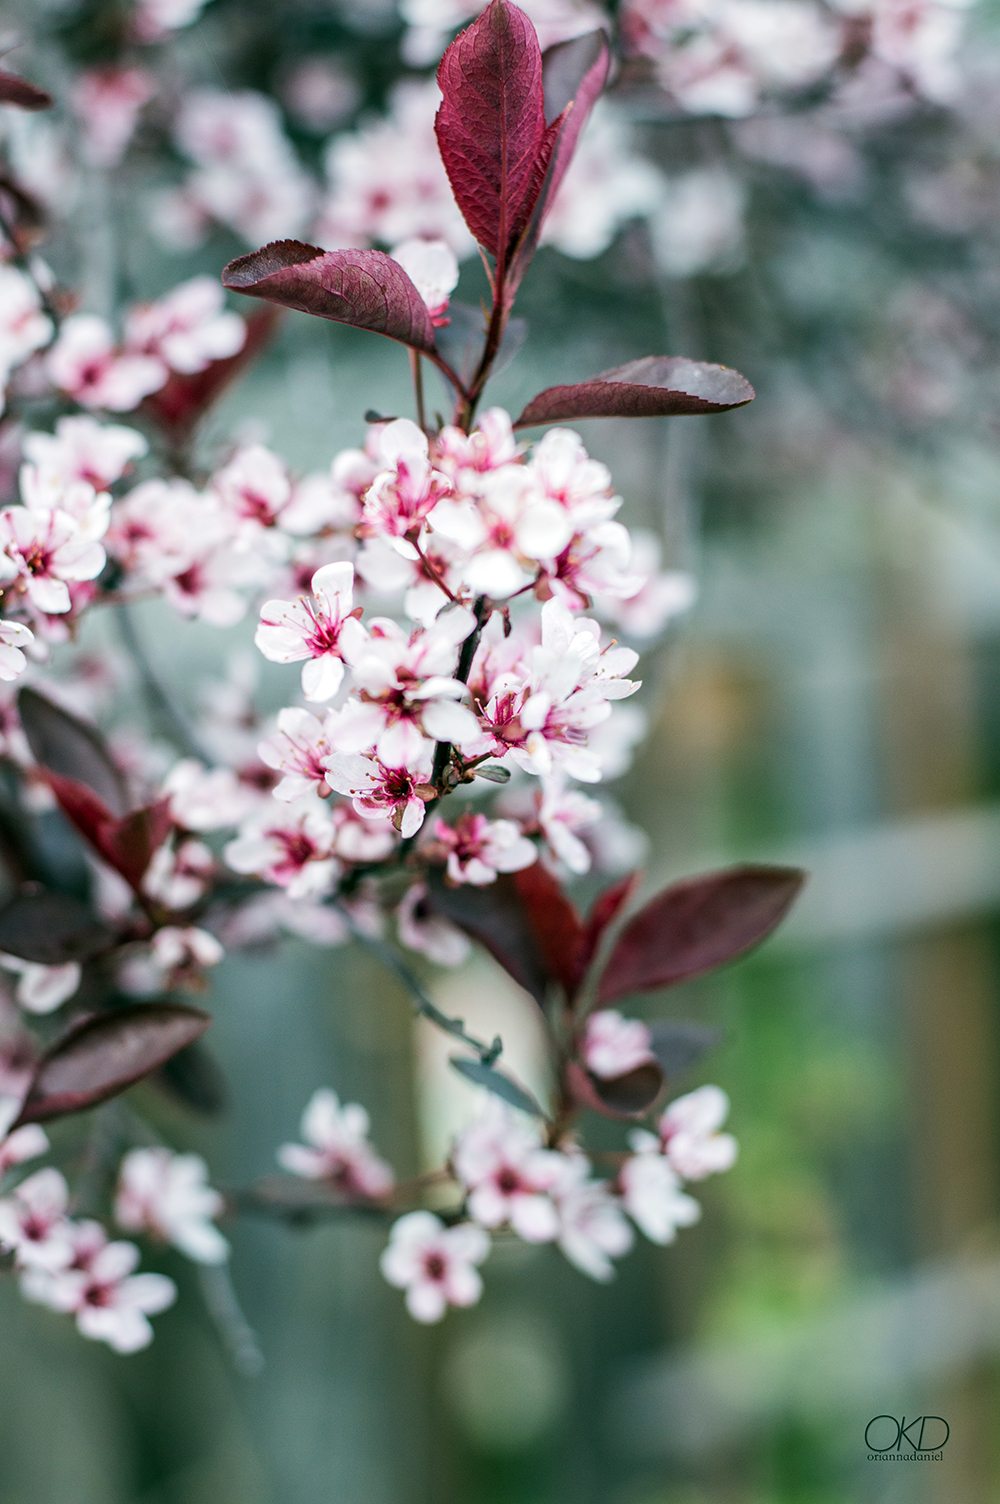
⦁ Nature
⦁ Aerial
⦁ Wildlife
⦁ Plants
These are just some examples of the many types of outdoor photography and every type requires a different style.
Time of Day
There's a lot to take into consideration when it comes to shooting outdoors. The time of day and weather conditions are the biggest things you have to consider. What do you want your end result to look like?
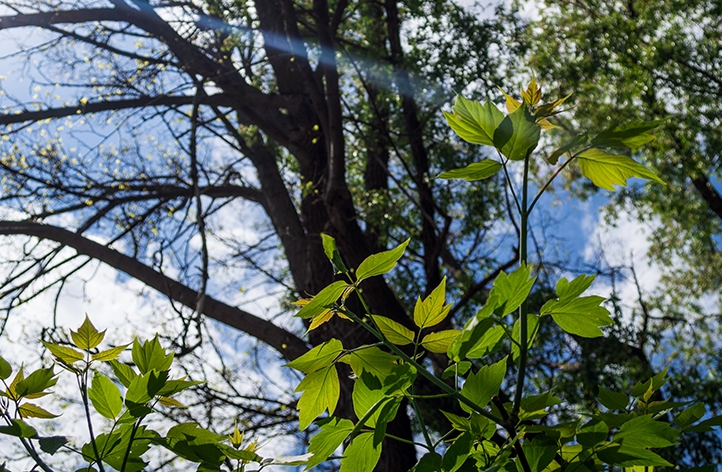
The sun can be your best friend or your worst enemy. Cloudy days are actually the best weather conditions for outdoors (but not too cloudy). When it's cloudy, the sunlight is diffused by the clouds and it creates a soft and even light on the subject. When it's really sunny there are harsh shadows and it might be harder to actually see the camera's settings to get the correct exposure.
There are also perfect golden hours when photographers like to take pictures. This can be in the morning at sunrise or the evening at sunset. At these times the sun is very directional and is just peeking over the horizon and the sky sometimes turns a beautiful pink or purple colour.
Night photography is also another great opportunity to take photos. But there's a lot that goes into it which would have to be a whole other blog post!
Equipment
As I mentioned above, on sunny days there are very harsh shadows that might take away from your photo - that's where reflectors come in handy!
A reflector's job is to fill in the shadows by bouncing the light from the sun back into the places where the sun wasn't illuminating the subject. The best example of this is for an outdoor portrait where there might be harsh shadows on the face - you can use a reflector to fill them in.
It really allows you to control the light which you can't really do with the sun alone. It can almost act like a second light.
For outdoor photography you could also use an external light meter but your camera's meter is pretty good at determining the correct exposure.
There's a lot less equipment needed for outdoor photography than studio photography. Most days all you need is your camera and accessories (lenses, batteries, memory cards, etc.), a tripod, and maybe a reflector and you're good to go!
Here are some advantages and disadvantages to shooting outdoors:
Advantages
⦁ Natural light. There are many different types of natural light (morning, day, evening, night)
⦁ Environment/Atmosphere. Endless beautiful locations and backgrounds from street photography to a desert landscape
⦁ Seasons. You could take a photo in the same location during each of the four seasons and they would look completely different
⦁ Space. There's tons of space compared to in the studio
Disadvantages
⦁ Weather conditions. Things like rain, snow, wind, or dull light might ruin some outdoor plans
⦁ Control. Because your light source is the sun you have less control of the light
⦁ Time. You might only have a short window of opportunity to take the perfect photo
⦁ Location. Some locations require permission or a permit to photograph there
Check out my Studio Photography blog here!
-Orianna